
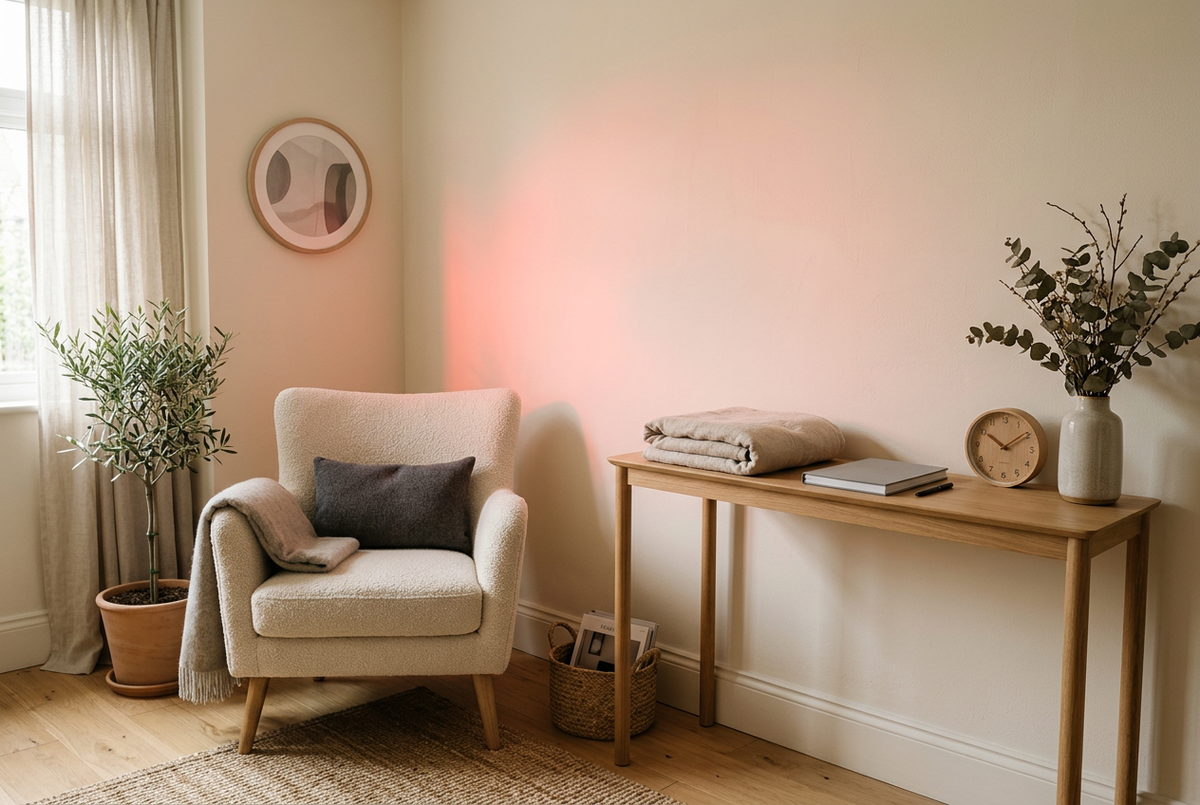
A red light therapy routine should fit into your day, not become another demanding project. Between work, family commitments, exercise and ordinary household jobs, even a small wellness habit can feel difficult to maintain. The answer is not necessarily a more elaborate schedule. It is often a simpler setup, a dependable reminder and a realistic idea of what you can manage.
This guide explains how to build a practical red light therapy routine at home without turning it into an all-or-nothing commitment. You will find ideas for organising your space, choosing a useful time, keeping your equipment ready and recording your experience. Rather than prescribing a universal treatment schedule, the focus is on making the instructions for your particular device easier to follow.
Different devices have different directions for session length, positioning, frequency and eye protection. Always use those directions as your starting point. A routine that is convenient but ignores the manual is not a better routine.
What makes a red light therapy routine realistic?
A realistic routine has three parts: a suitable device, a repeatable opportunity to use it and a setup you can manage without rushing. If one of those parts is missing, consistency becomes harder. A device may look appealing online but still be awkward to use in your available space or at the time you actually have free.
Start with your normal week rather than an idealised version of it. Think about when you are usually at home, which room is quiet enough and whether your equipment needs to be put away afterwards. These ordinary details matter because they determine whether using the device feels straightforward or inconvenient.
Consistency here means following the recommended routine reliably. It does not mean using your device every day regardless of its instructions, extending sessions to compensate for missed days or treating a calendar streak as a health goal. Your device guidance and your individual circumstances should shape the schedule.
1. Choose one clear reason for building the habit
Before rearranging your evenings, write down what you want from the experience. Perhaps you want a structured moment for personal care, a device that fits alongside your existing skincare habits or an organised way to explore home light therapy. Keep the reason specific enough to guide your decisions without turning it into a promise of results.
For example, “I want to follow my face mask instructions without rushing before bed” is a useful practical aim. “I need perfect skin by next month” creates pressure that no home routine can reliably resolve. A clear process goal gives you something you can actually control: preparation, correct use and sensible record keeping.
If your interest relates to pain, hair loss, a skin condition or another medical concern, speak with a qualified healthcare professional about suitable options. A wellness routine is not a substitute for assessment, diagnosis or prescribed care. Avoid building your plan around stopping treatment or postponing an appointment.
2. Match the setup to the way you live
Think about the practical format you will use before choosing a place for it. A wearable face mask, a freestanding panel and a flexible mat involve different arrangements. Consider where you will sit or stand, how you will reach the controls and whether the device needs a particular support or clearance.
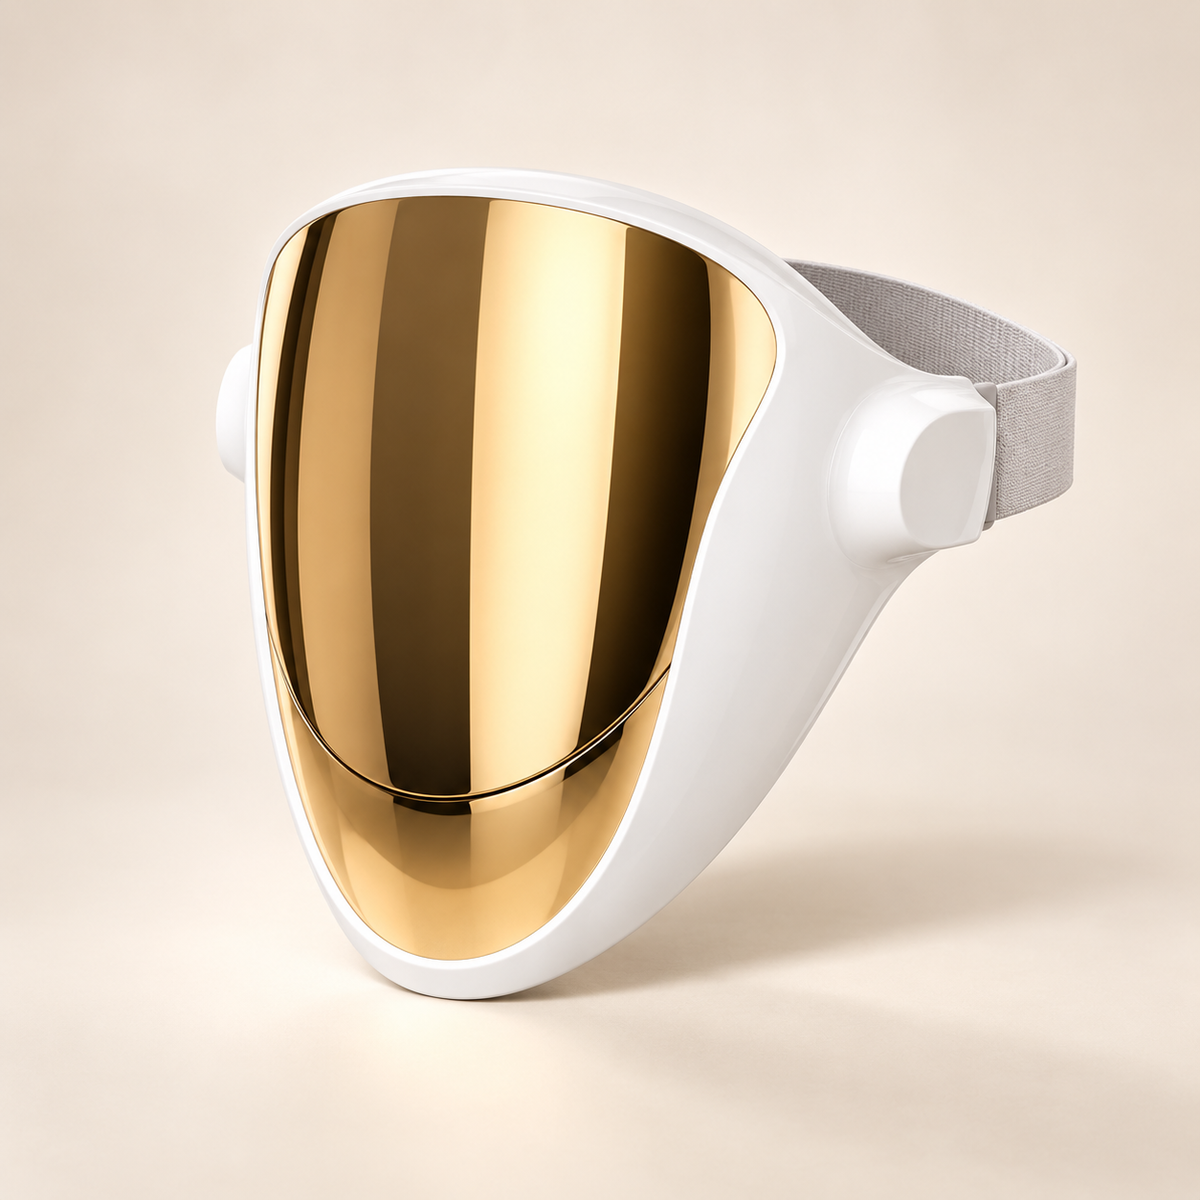
If facial skincare is your main interest, explore the Kroma Glow Mask. Check its current product information and supplied instructions rather than assuming that advice for another mask applies. Fit, preparation and protection requirements are details to confirm before planning your first session.
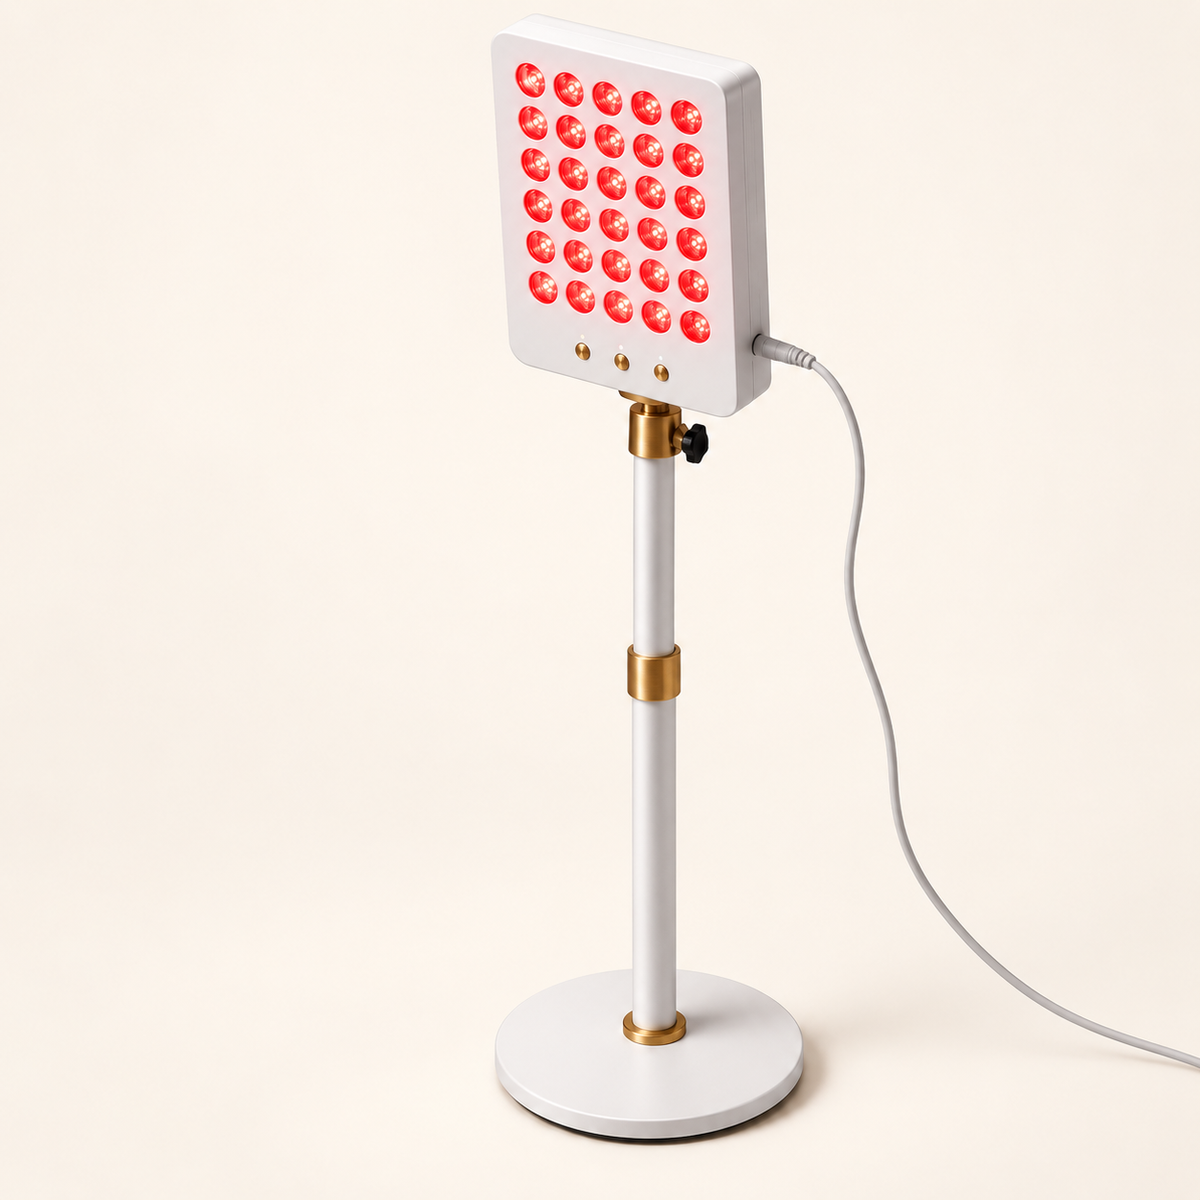
For a tabletop arrangement, the Kroma Glow Pro panel is another format to explore. If a freestanding setup suits your room better, look at the Kroma Radiance Pro. Choose based on the intended use and verified directions, not simply on which device appears largest.
If you are comparing formats, our guide to red light therapy panels, masks and mats is a useful next read. Make the equipment decision first, then build the habit around what that equipment actually requires.
3. Find a dependable moment, not the perfect time
The best time for your routine is a time you can use the device correctly and comfortably. There is no need to claim that everyone should use red light therapy first thing in the morning or immediately before bed. Your schedule, device instructions and personal experience matter more than copying someone else's timetable.
Look for a stable point in your day. It might be after you have finished getting ready, once you return home or during a quiet part of the evening. Make sure the available window includes preparation and putting things away, not just the session itself. A narrow gap between commitments can encourage rushing.
Choose one primary window and one backup window if your recommended schedule allows that flexibility. The backup is there to accommodate ordinary life, not to add extra sessions. If neither window works on a particular day, follow the guidance for your device rather than doubling the next session.
4. Use a familiar activity as your reminder
Linking a new habit to something established can make it easier to remember. You could keep a written reminder near your evening journal or set an alert for the point when you normally finish your personal-care routine. The reminder should help you decide whether it is an appropriate session day.
Be careful not to confuse a reminder with permission to multitask. Some devices require you to remain in a particular position, use eye protection or keep your attention on safe operation. Reading, working or looking at a screen may not be compatible with those instructions. Only combine activities when the manufacturer explicitly allows it.
A simple reminder might say, “Check schedule, prepare device, follow manual.” That wording is more useful than “Do extra red light tonight.” It reinforces the correct sequence and avoids making the habit about duration. Keep the reminder somewhere visible enough to help without adding another stream of notifications to your day.
5. Prepare a small, practical home space
You do not need a dedicated wellness room to create an organised routine. You do need a suitable location that meets the operating instructions. Check the requirements for a stable surface, power supply, ventilation and clearance before arranging furniture or deciding where the device will live.
Keep the essentials together where appropriate: the manual, required accessories and any approved cleaning materials. Store them in a way that protects the equipment and keeps cables from becoming a trip hazard. If the area is shared, agree when it will be available so you are not constantly moving the setup halfway through preparation.
A comfortable chair and a tidy surrounding area can make the experience feel less like a task. Comfort should not change the required positioning, however. Do not drape fabrics over equipment, improvise supports or enclose a device to make the room look neater. Follow its operating and storage requirements first.
6. Keep your first sessions straightforward
When you begin, resist the urge to combine several new products, devices and routines at once. Read the manual completely, check the controls and understand how to stop the session before starting. Confirm the recommended distance or fit, session duration and frequency for your device and intended use.
Do not borrow timings from a social media video or use a schedule written for a different model. Devices vary, and a duration that appears convenient is not automatically appropriate. Similarly, a brighter-looking device or a stronger setting should not be treated as a shortcut to a better experience.
If your setup includes skincare, follow the device's instructions about skin preparation and product use. Do not assume every serum, exfoliant or topical medication belongs underneath a light device. If you are uncertain about a medicine, sensitivity or skin concern, check with a pharmacist or qualified clinician before proceeding.
7. Build a weekly plan around the manual
Make a simple weekly note using the frequency specified for your particular equipment. Mark the available session windows and leave room for changes. Your plan should make the recommended pattern easier to follow, rather than impose an arbitrary number of sessions because it looks impressive on paper.
For each planned session, include the preparation steps that are easy to forget. You might note checking that the equipment is clean, setting it up correctly and using the required protection. These small checks are more valuable than a detailed spreadsheet that tracks lots of information you will never review.
For example, your calendar entry could read: “Planned device session, check manual for duration and positioning.” Underneath, leave a short space for whether you completed it and anything relevant you noticed. Keeping the schedule device-specific avoids turning a general blog article into an unsuitable treatment prescription.
8. Have a sensible plan for busy days
Some days will not go to plan. Meetings run over, children need attention and travel interrupts familiar routines. Decide in advance that a missed opportunity is a scheduling issue, not a reason to abandon the whole habit. Return to the recommended pattern without trying to make the calendar look perfect.
A useful busy-day response is to check whether your backup window is genuinely suitable. If it would mean rushing, ignoring positioning requirements or using the equipment when you are too tired to operate it attentively, leave it. Do not shorten or extend sessions outside the supplied guidance just to claim completion.
When you notice repeated missed sessions, adjust the organisation rather than blaming your motivation. Perhaps the device is stored somewhere inconvenient, the room is rarely available or your chosen time conflicts with dinner. Fixing one practical obstacle often creates a more workable plan than adding more reminders.
9. Track your experience without chasing daily changes
A brief record can help you see whether your routine is manageable. Note the date, the device used, whether you followed the instructions and any relevant observations. Keep the wording factual. “Comfortable setup, no rushing” is useful information about the routine, even if you have no visible change to report.
If you choose to take photographs for personal comparison, use a similar location, lighting, angle and camera distance. Avoid filters and remember that ordinary differences in light or expression can alter how skin looks. Photographs are not a medical assessment and should not be used to diagnose a condition.
Set a reasonable point to review the process instead of scrutinising yourself after every session. Ask whether the routine fits your day, whether the equipment remains comfortable to use and whether you have questions that require professional advice. Do not set a guaranteed results deadline based on somebody else's experience.
10. Make cleaning and storage part of the habit
A routine is not finished when the light switches off. Follow the manufacturer's instructions for cooling, cleaning and storage, including any requirements to switch off or disconnect the device first. Use only the cleaning methods specified for the equipment, particularly around electronics, lenses and skin-contact surfaces.
Keep cables and accessories organised so the next session starts smoothly. Check the equipment for visible damage as directed and do not continue using a device with a damaged cable, cracked housing or another apparent fault. Contact the seller or manufacturer for the appropriate next step rather than improvising a repair.
If you are considering a different format, such as the Kroma Revive mat, check its own cleaning, placement and storage requirements. A flexible format does not mean unrestricted folding, wrapping or use. Treat each product's care instructions as specific to that product.
11. Know when to pause and ask for advice
Do not push through discomfort to preserve a routine. If you notice irritation, eye discomfort, unusual symptoms or another concerning reaction, stop using the device and seek appropriate advice. For severe or urgent symptoms, seek urgent medical help. A checklist should never override how you feel or a clinician's recommendation.
Before starting, ask a qualified healthcare professional if you have a relevant medical condition, take medicines that can affect light sensitivity or have been advised to avoid certain light exposure. Check the manufacturer's contraindications and any age restrictions. If something is unclear, get clarification rather than assuming that a general wellness label answers every safety question.
Keep expectations separate from safety decisions. Even if you have invested time in building the habit, it is sensible to reassess when your circumstances change. A new medicine, a new skin concern or a different device may mean the old routine is no longer the right starting point.
12. Review the routine before buying more equipment
If your current routine feels difficult, another device is not automatically the solution. First look at the friction: setup time, storage, unclear instructions or an unrealistic schedule. Resolve those issues before deciding that you need a larger panel, additional accessories or a second format.
When a product genuinely does not suit your space or intended use, compare alternatives thoughtfully. Our home red light therapy device buying guide can help you organise the questions to ask. Focus on suitability, usable instructions and a setup you can operate correctly rather than promotional intensity claims.
Keep a short list of what would make your routine easier. That might be clearer storage, a different place to sit or a better reminder. A successful home setup is not necessarily the most elaborate one. It is the one that supports appropriate use without taking over your living space or schedule.
Frequently asked questions about a red light therapy routine
Should I use red light therapy in the morning or evening?
Choose a time that lets you follow your device instructions without rushing. There is no universal time of day prescribed by this guide. Consider room availability, preparation and how the session fits your existing responsibilities. If a particular time feels unsuitable, reassess the schedule rather than forcing it.
How long should a session last?
Use the duration stated for your exact device, settings and intended application. Do not use this article to replace the manual or copy timings from another product. If the instructions are unclear, ask the seller or manufacturer to clarify before you begin.
What should I do if I miss a session?
Follow the manufacturer's guidance and return to the appropriate schedule. Do not automatically double the next session or add extra exposure. If missed sessions are frequent, simplify the setup or choose a more dependable window rather than creating a catch-up routine.
Can I use several red light therapy devices together?
Do not assume that combining devices or using them back to back is appropriate. Each product has its own instructions, and separate schedules do not automatically form a suitable combined plan. Check with the manufacturers and, where relevant, a qualified healthcare professional before combining use.
How will I know whether the routine suits me?
Start by assessing practical fit: can you follow the instructions, use the equipment comfortably and maintain the recommended pattern? Record concerns and seek advice when needed. Individual experiences vary, and a convenient routine does not guarantee a particular cosmetic or health outcome.
A calmer approach to red light therapy at home
Building a red light therapy routine is less about finding a perfect timetable and more about removing unnecessary obstacles. Choose equipment suited to your intended use, read its instructions, prepare a practical space and identify a dependable opportunity in your week. Keep the plan simple enough to use on an ordinary day.
Above all, treat the routine as something that supports your life, not another standard you must meet perfectly. Follow the device guidance, avoid compensating for missed sessions and ask for advice when something is unclear. Explore the Kroma products linked above when you are ready to compare formats, and choose the setup that makes appropriate home use feel straightforward.

Leave a comment
This site is protected by hCaptcha and the hCaptcha Privacy Policy and Terms of Service apply.