How far away should you sit from a red light therapy panel? It sounds like a question with a simple numerical answer. In practice, the right red light therapy distance depends on the exact device, its operating mode, the area you are using it on and the instructions supplied by its manufacturer. A distance borrowed from a social media video is not a reliable substitute for your own manual.
The most useful starting point is this: use the distance specified for your device and intended use, then make that position easy to repeat. Moving closer is not automatically better, and moving further away does not automatically make a setup suitable. Distance, session duration and coverage need to be considered together, rather than adjusted independently.
This guide explains how to think about panel positioning, what irradiance measurements can and cannot tell you, and how to build a practical home setup. It does not prescribe a treatment distance or replace your device instructions. If you are completely new to the topic, start with our introduction to what red light therapy is.
In this guide
- The best starting point for distance
- Why distance changes your setup
- Understanding irradiance and exposure
- How to measure your position
- Coverage, angles and body position
- Panels, masks and mats
- A practical home setup checklist
- Common positioning mistakes
- Frequently asked questions
What is the best distance for red light therapy?
There is no single distance that can be recommended for every home red light therapy device. Two panels that look similar can have different LED arrangements, optics, output levels, wavelength combinations and intended uses. A small desktop unit and a large standing panel should not be assumed to share the same operating instructions simply because both emit red light.
Look for a recommended operating distance in the manual for your exact model. Check whether it changes with the selected mode or the area being exposed. Also look for the associated session duration, frequency guidance, eye precautions and installation requirements. These details form a complete set of instructions; selecting one number and ignoring the others can create a setup the manufacturer has not described.
If the manual gives a range, stay within it and follow any explanation of how to choose a position within that range. If the wording is unclear, ask the supplier for clarification before improvising. A useful question is: “For this model, mode and intended area, what distance and session duration should I use together?” That is much more specific than asking whether all red light devices should be used close to the skin.
Why your distance from a panel matters
Position affects how the light reaches the surface in front of the device. Moving a panel or moving your body changes the relationship between the light source and the area being exposed. Depending on the device design, that can change intensity, the size of the illuminated area and how evenly different points receive light. This is why distance belongs in the setup instructions rather than being treated as an optional preference.
Imagine a panel facing a seated person. If the person leans forward, their face may move closer while their shoulders remain further back. If they turn sideways, one side of the body may receive light at a different angle from the other. The timer might still show the same number of minutes, but the physical arrangement is no longer the same. A repeatable posture is therefore part of a repeatable session.
Avoid treating distance as a competition to get as close as possible. More intense exposure is not automatically more useful exposure, and a brighter-looking setup does not establish a better result. The aim is to use the device as intended, not to maximise the sensation of light or warmth. Comfort matters, but comfort alone does not tell you whether a position matches the recommended conditions.
What does irradiance mean?
Irradiance describes radiant power reaching a surface per unit area. Product specifications may express it in milliwatts per square centimetre. When a specification includes an irradiance value, the measurement distance is important context. A figure measured near a panel cannot automatically describe what reaches your skin when you sit somewhere else.
Measurement methods also matter. Instrument type, the area sampled, the operating mode and whether a figure represents one point or a broader average can affect how a published number should be interpreted. A headline number without these details is less informative than it first appears. For a meaningful comparison, look for measurements described under comparable conditions rather than assuming the largest number identifies the best device.
Irradiance is not the same thing as electrical wattage. Electrical power consumption tells you about the energy the device uses, not directly about the light reaching a particular area of your body. Likewise, a product photograph cannot demonstrate measured output. If you are comparing devices, request clear specifications and instructions instead of trying to infer performance from the number of LEDs or the apparent brightness in a picture.
Why a simple distance formula is not enough
You may encounter advice to calculate a new session time whenever you change distance. Be cautious. A panel is an arrangement of multiple emitters, and its output pattern depends on its construction and optics. A simple rule borrowed from an idealised light source may not accurately describe the panel at the distances used at home.
Even where exposure can be expressed mathematically, that does not establish a suitable personal treatment protocol. Do not double your session time to compensate for sitting further away, or halve the distance because you have less time available, unless the manufacturer explicitly gives that instruction. Keep calculations in context and use the operating guidance for the product you actually own.
How to measure red light therapy distance at home
First, check what the manual means by distance. It may refer to the gap between the light-emitting face of the device and the surface of the intended area. Do not assume the measurement starts at the back of the housing, the stand or the edge of a desk. If the reference point is not stated clearly, ask for clarification.
With the device switched off, arrange your chair or standing position and measure the gap using the reference points specified in the instructions. Keep measuring tools away from electrical parts and avoid resting anything against the LEDs. Once you have a suitable arrangement, note the chair location, stand position and intended posture. A simple written note can be more useful than repeatedly estimating the gap by eye.
You do not need to turn your room into a laboratory. The goal is an arrangement that follows the instructions and is straightforward to recreate. If you share the device with someone else, remember that the same chair position may not create the same skin-to-panel distance for a different person. Adjust the setup for each user rather than assuming the furniture alone determines the measurement.
Distance, coverage and body position
Coverage is the area the device is intended to illuminate at a specified position. A panel can cast visible light across a room without providing the same exposure everywhere that looks red. Light spilling onto a wall or neighbouring body area is not proof that those areas are receiving the conditions described in the device guidance.
Look for a coverage description associated with the recommended distance. Then position the intended area within that coverage according to the instructions. A larger body area may not fit into the relevant zone of a smaller device in one position. Avoid trying to solve that limitation by inventing a longer session or moving the panel outside its specified operating range.
Posture is another practical consideration. Choose a stable, comfortable arrangement that does not require you to hold an awkward position. If you are repeatedly bending your neck, twisting your torso or leaning towards a panel, reconsider the furniture and stand arrangement. Any change must still respect mounting, clearance and use instructions. A comfortable setup is easier to repeat without unintentional shifts.
Does the angle of the panel matter?
Angle changes how a surface faces the light source. A panel directed squarely towards the intended area creates a different arrangement from one placed off to the side. Follow the manufacturer's positioning guidance instead of assuming any angle is equivalent. Secure the stand or mounting system properly before beginning, and never balance a device on improvised supports to achieve a particular direction.
There is also a difference between adjusting the light source and adjusting yourself. If the supplied mount does not allow a certain angle, do not force it beyond its design. Choose an approved configuration or contact the supplier. The best home arrangement is not the most elaborate one; it is a stable setup you can use as intended without holding the panel in place.
Do panels, masks and mats use the same distance?
No single positioning rule should be transferred between these formats. A freestanding panel is designed around a gap between the device and the user. A fitted mask may be designed around its own shape, spacers and straps. A flexible mat or wrap may have another intended arrangement. The instructions for one format do not establish the instructions for another.
For a mask, use the fit and fastening guidance supplied with that model. Do not remove components or alter the fit simply to bring LEDs closer. For a mat or wrap, check how it should be positioned, whether contact is intended, and any restrictions on folding or covering it. For a panel, check the distance and mounting information. Treat each device as its own product rather than as an interchangeable source of red light.
If you are deciding which format fits your space and routine, read our red light therapy mask versus panel guide and our broader introduction to panels, masks and mats. These comparisons can help you think about usability before you commit to an arrangement that is inconvenient in your home.
A practical home setup checklist
1. Identify the exact device and instructions
Check the model name and use its current manual. Keep the instructions somewhere accessible rather than relying on a remembered number from when the device arrived. If you have changed accessories or operating modes, check whether the guidance changes too. A quick review is especially useful when a device has not been used for a while.
2. Choose a suitable location
Use the device only in an environment allowed by its instructions. Check the requirements for ventilation, surface stability, moisture and clearances. Keep access routes clear and arrange the cable so it does not create a trip hazard or pull on the unit. Do not cover vents or place the panel where it could fall if someone moves a chair.
3. Set the distance before switching on
Position the panel and your seat, measure the intended gap, and confirm the mount is secure. Check that the relevant area faces the device without needing an awkward posture. Doing this before a session reduces the temptation to move equipment while it is operating. It also gives you a repeatable starting point rather than a different estimate every day.
4. Follow the complete session guidance
Use the specified mode, timer and eye precautions together. Do not stare into LEDs or assume that closing your eyes replaces whatever protection the manufacturer requires. If you have a medical condition, take medication associated with light sensitivity, or have questions about whether the device is appropriate for you, seek advice from a qualified healthcare professional before use.
5. Keep a simple setup note
Record the model, mode, recommended position and session instructions you are following. Note practical issues such as an uncomfortable chair or a stand that needs a better location. This is a consistency tool, not a medical assessment. For help fitting sessions into everyday life, see our practical red light therapy routine for busy days.
Common distance and positioning mistakes
Copying someone else's setup
A video can show how another person has arranged their room, but it cannot confirm the right distance for your model. The creator may use a different panel, mode or mounting accessory. Treat visual inspiration as inspiration only. Your own instructions should determine the operating arrangement, even when another setup looks more convenient or more impressive.
Changing several variables at once
Moving closer, increasing the timer and adding extra sessions together makes your routine harder to understand and may take it outside the instructions. Avoid stacking changes because you are impatient. If you are unsure about results, revisit the product guidance and your expectations rather than automatically increasing exposure. Our article on realistic red light therapy expectations explores that distinction.
Using warmth as a measuring tool
Warmth does not provide a reliable reading of irradiance, wavelength or whether your session matches the manual. Do not move closer until you feel heat or stay in position because it does not feel hot. If use becomes uncomfortable, stop the session and review the instructions. Do not dismiss unexpected symptoms or continue simply to complete a timer.
Forgetting the setup after cleaning
It is easy to move a panel to clean a table, then return it to a slightly different place. Recheck the position when furniture or equipment has moved. Follow the device's cleaning instructions and let it return to the required condition before operating it. Our cleaning and storage guide covers useful habits for keeping your routine organised.
Questions worth asking before buying a panel
Clear instructions are an important part of choosing a home device. Ask where the operating distance is documented, whether different modes have different recommendations, and how coverage is described. If an irradiance number is advertised, ask at what distance it was measured and what measurement information is available. These are practical product questions, not a request for a promise of personal results.
Also consider the physical space the product needs. Will the approved stand fit beside your chair? Can the device be stored safely? Is the cable long enough for the intended location without an awkward arrangement? A device that fits your home is easier to use consistently than one whose recommended position conflicts with your room. For more buying considerations, explore our home red light therapy device guide.
Frequently asked questions about red light therapy distance
Is closer always better?
No. Closer is not a universal improvement. It changes the exposure arrangement and may fall outside the product's instructions. Use the distance recommended for the exact device and intended use instead of trying to maximise intensity.
Can I sit further away and use it for longer?
Do not assume that extra time compensates for extra distance. Coverage and output patterns depend on the device, and a simple time adjustment may not reproduce the intended conditions. Only make that change if the manufacturer provides a suitable protocol.
Should red and near-infrared modes use different distances?
That depends on the device instructions. Do not infer a distance from the wavelength name alone. Our red light versus near-infrared guide explains the terminology, but positioning still needs to come from the exact product guidance.
Can I use the same position for my face and body?
Check the manual rather than assuming the positions are interchangeable. Intended use, eye precautions, coverage and accessories may differ. Ask the supplier if it is unclear whether a particular setup is intended for the area you have in mind.
What if my manual does not mention distance?
Contact the manufacturer or supplier before improvising. Give them the model name, operating mode and intended area, and ask for written positioning and timing guidance. A generic recommendation from another device is not a reliable replacement.
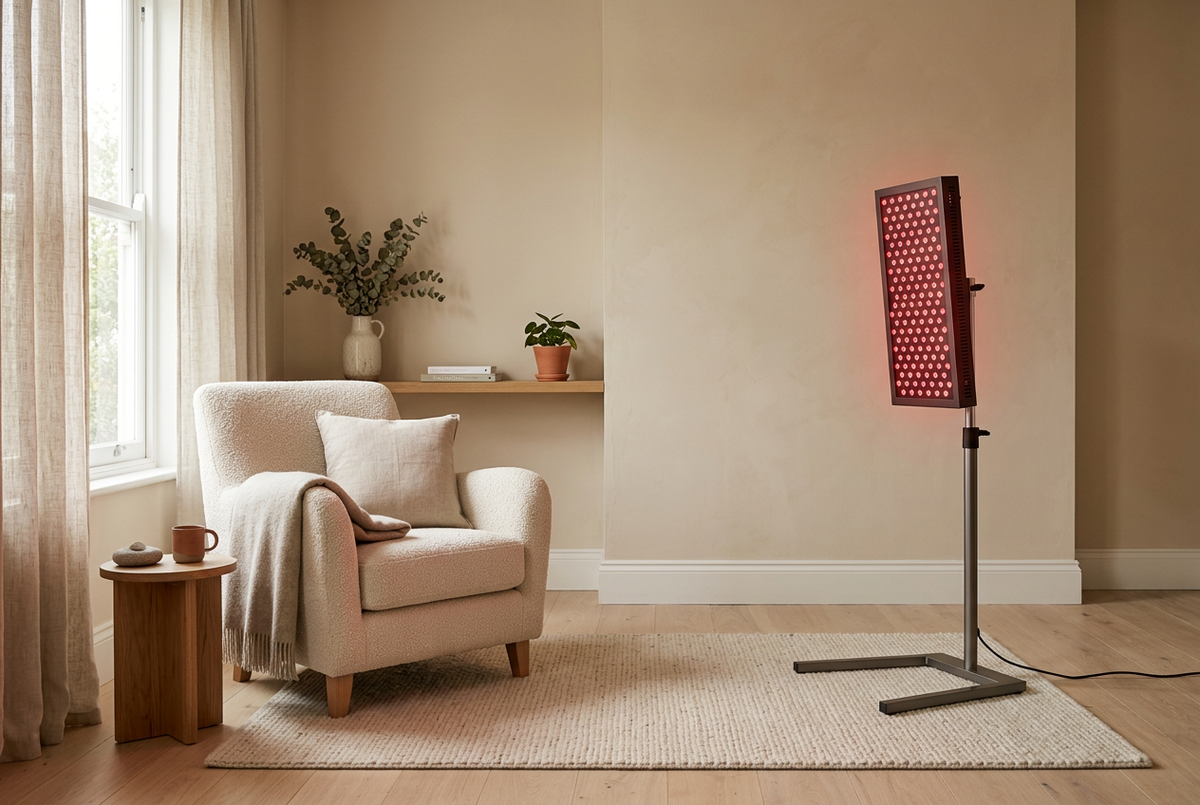
Does the hero image show a recommended distance?
No. The image accompanying this article is an illustrative room scene, not a measured setup or a photograph demonstrating a particular Kroma model. Use your own device instructions to determine positioning, mounting and clearances.
The takeaway: make positioning clear and repeatable
The best red light therapy distance is not a number copied from the internet. It is the position specified for your device, used alongside the appropriate mode, session duration and precautions. Once you understand those instructions, focus on a stable layout and a comfortable posture that you can recreate without guessing.
Start with the manual, measure using the correct reference points, and avoid changing distance to chase a brighter or warmer experience. If anything remains unclear, ask the supplier before experimenting. For more practical reading, visit the Kroma Red Light Hub and build your routine around informed choices rather than shortcuts.

Leave a comment
This site is protected by hCaptcha and the hCaptcha Privacy Policy and Terms of Service apply.